First Live Stream with OBS
Overview
Stream empowers customers and their end-users to broadcast a live stream quickly and at scale. The player can be embedded in sites and applications easily, but not everyone knows how to make a live stream because it happens in a separate application. This walkthrough will demonstrate how to start your first live stream using OBS Studio, a free live streaming application used by thousands of Stream customers. There are five required steps; you should be able to complete this walkthrough in less than 15 minutes.
Before you start
To go live on Stream, you will need any of the following:
- A paid Stream subscription
- A Pro or Business zone plan — these include 100 minutes of video storage and 10,000 minutes of video delivery
- An enterprise contract with Stream enabled
Also, you will also need to be able to install the application on your computer.
If your computer and network connection are good enough for video calling, you should at least be able to stream something basic.
1. Set up a Live Input
You need a Live Input on Stream. Follow the Start a live stream guide. Make note of three things:
- RTMPS URL, which will most likely be
rtmps://live.cloudflare.com:443/live/ - RTMPS Key, which is specific to the new live input
- Whether you selected the beta “Low-Latency HLS Support” or not. For your first test, leave this disabled. ( What’s that?)
2. Install OBS
Download OBS Studio for Windows, macOS, or Linux. The OBS Knowledge Base includes several installation guides, but installer defaults are generally acceptable.
3. First Launch OBS Configuration
When you first launch OBS, the Auto-Configuration Wizard will ask a few questions and offer recommended settings. See their Quick Start Guide for more details. For a quick start with Stream, use these settings:
- Step 1: “Usage Information”
- Select “Optimize for streaming, recording is secondary.”
- Step 2: “Video Settings”
- Base (Canvas) Resolution: 1920x1080
- FPS: “Either 60 or 30, but prefer 60 when possible”
- Step 3: “Stream Information”
- Service: “Custom”
- For Server, enter the RTMPS URL from Stream
- For Stream Key, enter the RTMPS Key from Stream
- If available, select both “Prefer hardware encoding” and “Estimate bitrate with a bandwidth test.”
4. Set up a Stage
Add some test content to the stage in OBS. In this example, I have added a background image, a web browser (to show time.is), and an overlay of my webcam:

OBS offers many different audio, video, still, and generated sources to set up your broadcast content. Use the “+” button in the “Sources” panel to add content. Check out the OBS Sources Guide for more information. For an initial test, use a source that will show some motion: try a webcam (“Video Capture Device”), a screen share (“Display Capture”), or a browser with a site that has moving content.
5. Go Live
Click the “Start Streaming” button on the bottom right panel under “Controls” to start a stream with default settings.
Return to the Live Input page on Stream Dash. Under “Input Status,” you should see “🟢 Connected” and some connection metrics. Further down the page, you will see a test player and an embed code. For more ways to watch and embed your Live Stream, see Watch a live stream.
6. (Optional) Optimize Settings
Tweaking some settings in OBS can improve quality, glass-to-glass latency, or stability of the stream playback. This is particularly important if you selected the “Low-Latency HLS” beta option.
Return to OBS, click “Stop Streaming.” Then click “Settings” and open the “Output” section:
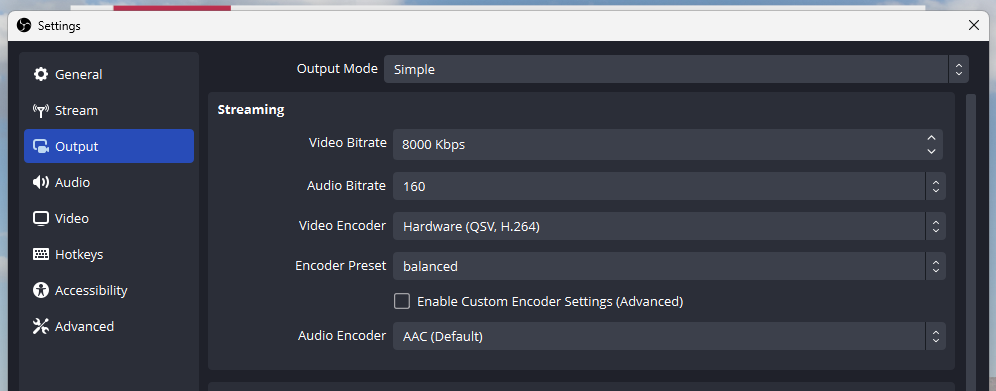
- Change Output Mode to “Advanced”
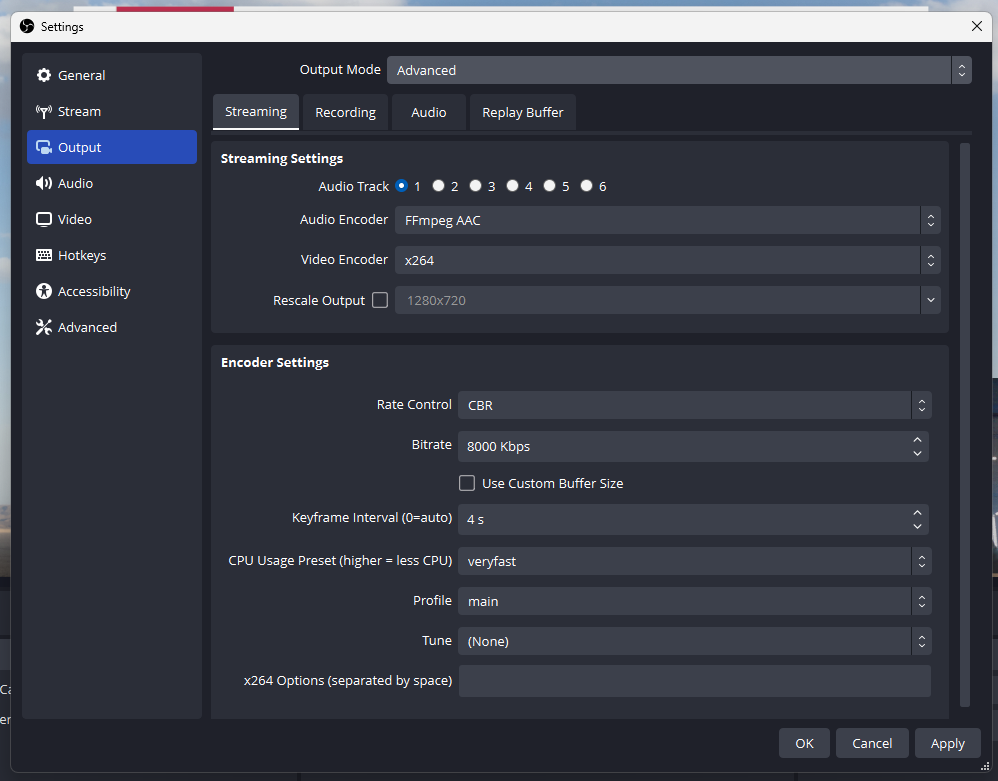
Your available options in the “Video Encoder” menu, as well as the resulting “Encoder Settings,” may look slightly different than these because the options vary by hardware.
- Video Encoder: may have several options. Start with the default selected, which was “x264” in this example. Other options to try, which will leverage improved hardware acceleration when possible, include “QuickSync H.264” or “NVIDIA NVENC.” See OBS’s guide to Hardware Encoding for more information. H.264 is the required output codec.
- Rate Control: confirm “CBR” (constant bitrate) is selected.
- Bitrate: depending on the content of your stream, a bitrate between 3000 Kbps and 8000 Kbps should be sufficient. Lower bitrate is more tolerant to network congestion and is suitable for content with less detail or less motion (speaker, slides, etc.) where a higher bitrate requires a more stable network connection and is best for content with lots of motion or details (events, moving cameras, video games, screen share, higher framerates).
- Keyframe Interval, sometimes referred to as GOP Size:
- If you did not select Low-Latency HLS Beta, set this to 4 seconds. Raise it to 8 if your stream has stuttering or freezing.
- If you did select the Low-Latency HLS Beta, set this to 2 seconds. Raise it to 4 if your stream has stuttering or freezing. Lower it to 1 if your stream has smooth playback.
- In general, higher keyframe intervals make more efficient use of bandwidth and CPU for encoding, at the expense of higher glass-to-glass latency. Lower keyframe intervals reduce latency, but are more resource intensive and less tolerant to network disruptions and congestion.
- Profile and Tuning can be left at their default settings.
- B Frames (available only for some encoders) should be set to 0 for LL-HLS Beta streams.
For more information about these settings and our recommendations for Live, see the “Recommendations, requirements and limitations” section of Start a live stream.
What’s Next
With these steps, you have created a Live Input on Stream, broadcast a test from OBS, and you saw it played back in via the Stream built-in player in Dash. Up next, consider trying:
- Embedding your live stream into a website
- Find and replay the recording of your live stream